
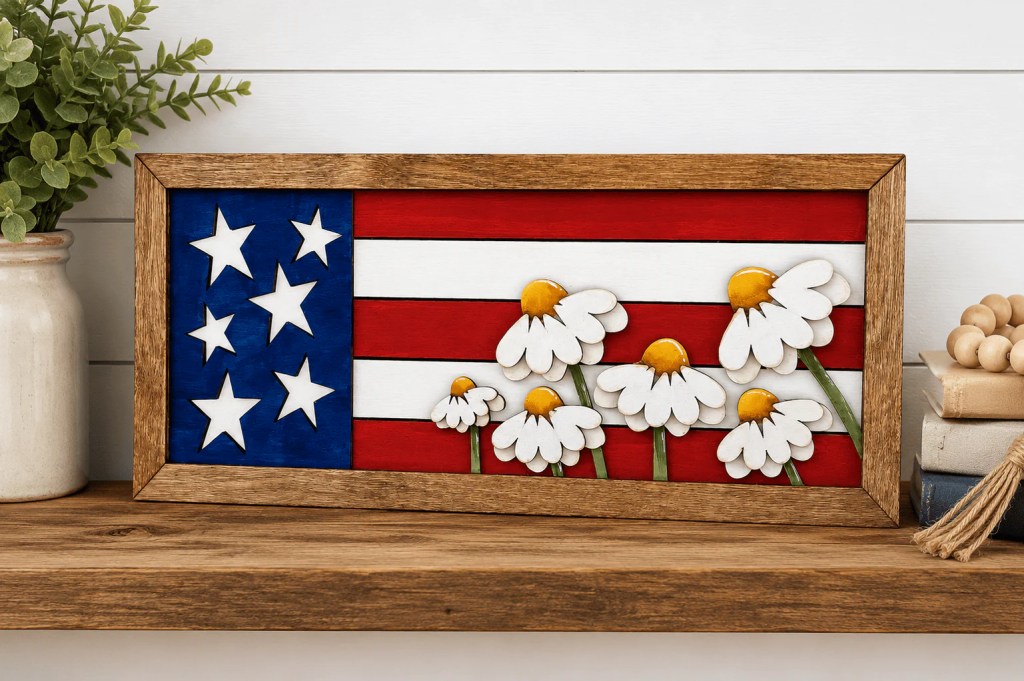
There’s a window every summer — somewhere between Memorial Day and the Fourth of July — when I want everything on my porch to look a little more cheerful. A little more American summer. This year, I’m filling that window with a project that hits both notes at once: a daisy flag kit, painted on a slow Sunday afternoon with iced tea on the workbench.
If you’ve got a couple of hours and a few bottles of paint, here’s exactly how I put mine together.
What You’ll Need
- The Daisy Flag Frame Kit from WallCutz — comes as three birch plywood layers, 7.5″ x 16″
- Acrylic paint in red, white, navy blue, and yellow
- A small flat brush for the larger areas
- A detail brush for the daisy petals and stars
- A fine sanding block
- Wood glue
- A soft cloth
- Optional: matte sealer for a finished look
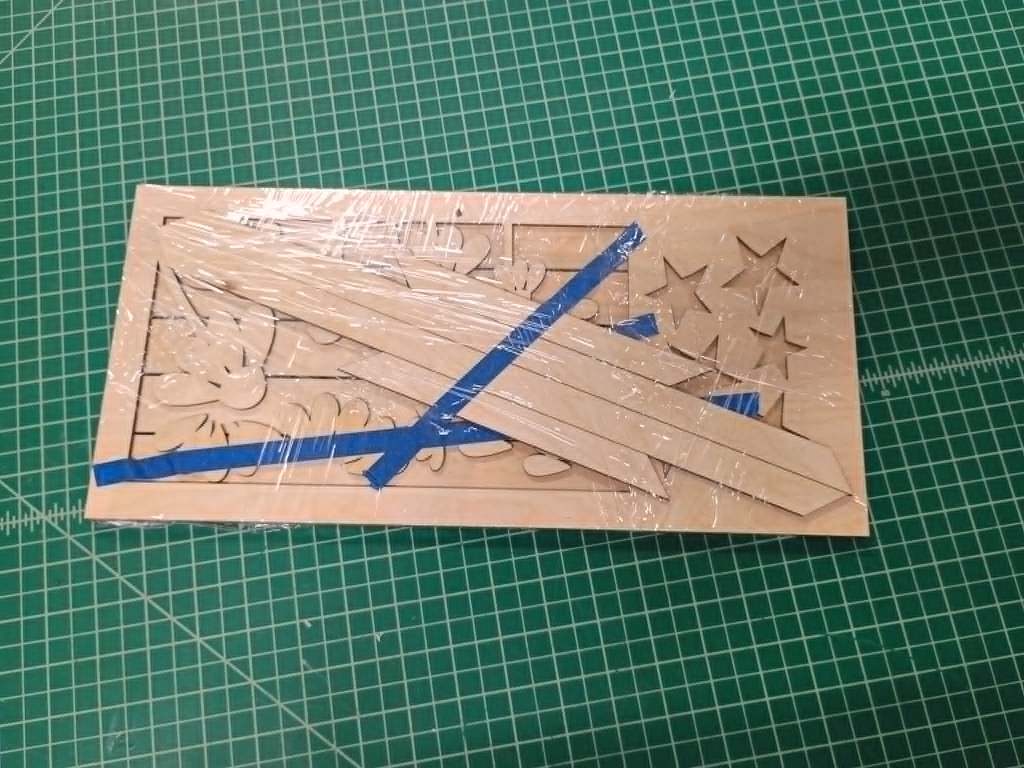
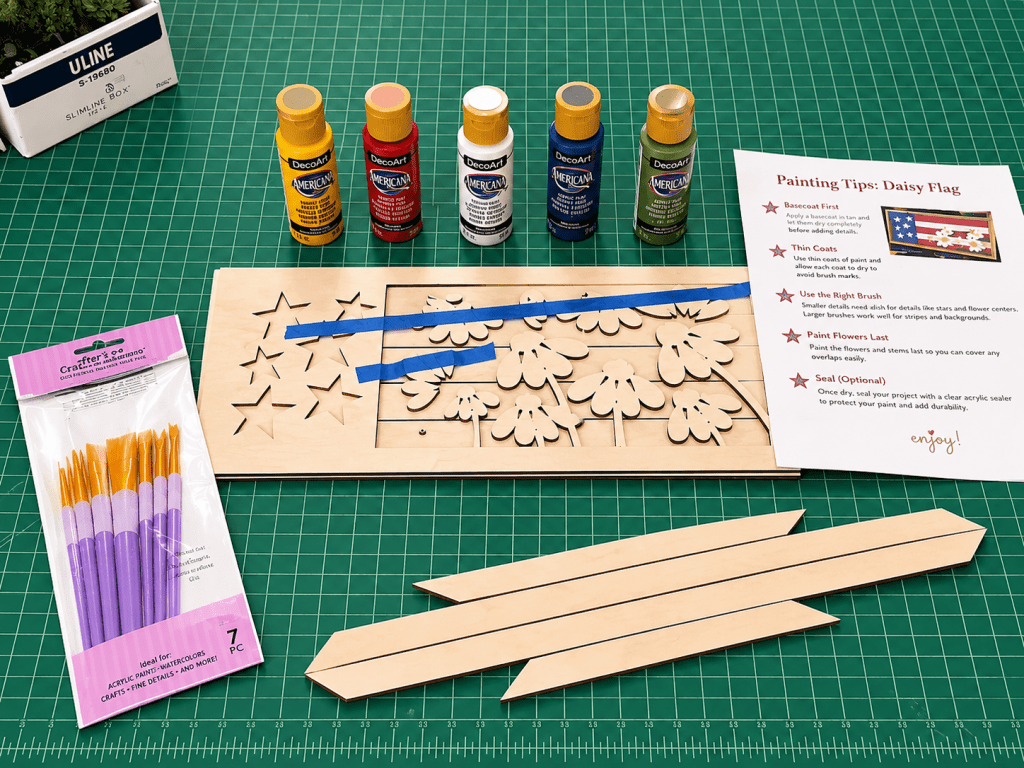
That’s it. No saws, no tracing, no special skills required.
Step 1: Sand Everything Lightly
Before any paint goes on, give each layer a quick pass with the fine sanding block. The birch arrives smooth, but a few seconds of sanding knocks down any raised grain and helps the paint grip. Wipe everything down with a soft cloth.
Step 2: Paint the Base Layer
Lay the base (the thickest 1/4″ piece) flat on a drop cloth. This is your background — paint it whatever color you want peeking through behind the flag. I went with a soft cream for a vintage farmhouse look, but plain white or a weathered blue would both look great too.
One coat is usually enough if you want a slightly distressed feel. Two coats if you want clean coverage.
Step 3: Paint the Flag Layer
This is the fun one. The middle layer has your flag shape — red stripes, white stripes, navy field where the stars go. Take your time with the stripes; a steady hand and a small flat brush will get you cleaner lines than trying to rush it.
A few tips:
- Paint the white stripes first. It’s easier to clean up red bleed on white than the other way around.
- Let each color dry fully before going to the next. About 10–15 minutes between coats is plenty.
- Don’t stress the imperfections. A little brush variation actually looks more handmade than machine-perfect lines.
Step 4: Paint the Daisy Layer
The top layer is where the personality lives — daisies, leaves, and any small details. Yellow centers, white petals, green leaves. Use your detail brush and just take your time. Most of the daisies are forgiving shapes; if a petal goes a little wide, it just looks like the flower has character.
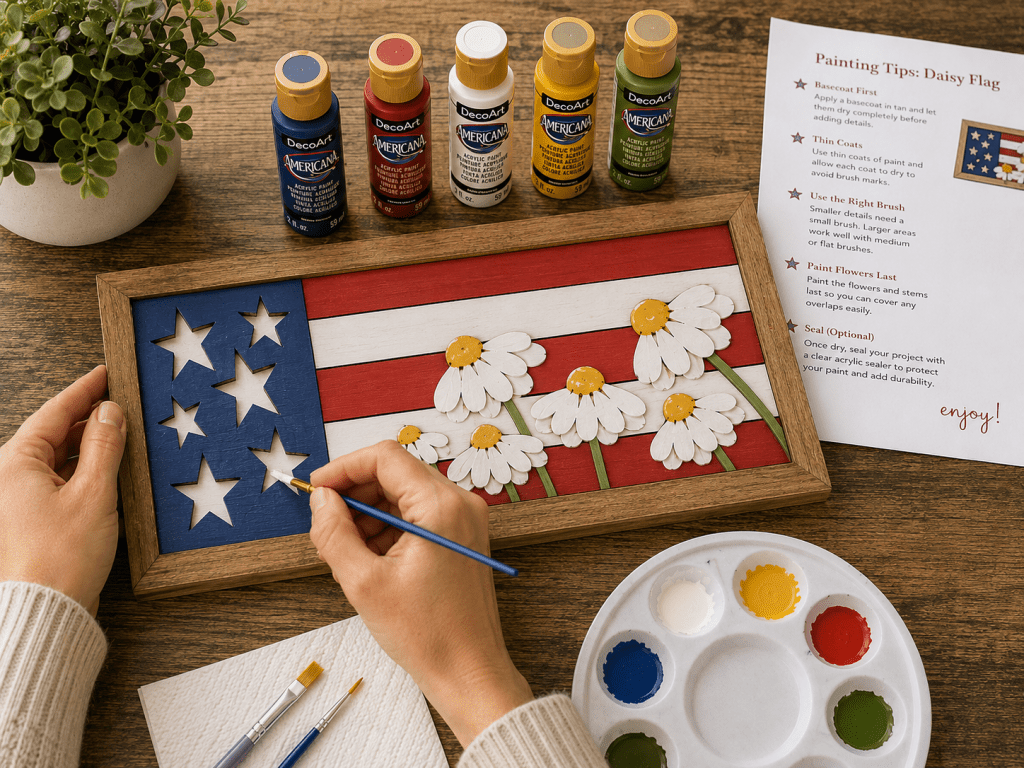
Step 5: Let Everything Dry, Then Glue
Once all three layers are dry to the touch (about 20 minutes), it’s time to assemble. A small bead of wood glue on the back of the flag layer, press it onto the base. Then a few small dots of glue on the back of the daisy layer, press it onto the flag. Line up the edges, press firmly for about 30 seconds, and let it set.
Step 6: Optional — Seal It
If your finished piece is going somewhere it’ll get handled or sit in direct sun (a windowsill, porch shelf, mantel near a fireplace), a quick spray of matte sealer protects the paint. Not required, but nice.
Where To Put It
The kit is sized to be a shelf sitter or a wall piece — 7.5″ tall and 16″ wide. Mine ended up leaning on the entry table next to a little blue mason jar with wildflowers. It would also look great on a porch shelf, a kitchen ledge, or above a bed of summer hydrangeas in a sunroom.
A Note on Why I Like Wood Kits Like This
Stencils are great, but there’s something about layered wood projects that makes them feel a little more finished — the dimension does a lot of the heavy lifting. You’re not just painting a flat surface; you’re stacking pieces that catch light differently. Even an okay paint job ends up looking pretty good once it’s assembled.
You can find the Daisy Flag Frame Kit here. WallCutz also has a whole collection of Patriotic Kits if you want to make a few and group them together — a daisy flag, a smaller star piece, and a wood “summer” sign side by side would look incredible on a mantel.
If you make one, tag me on Instagram. I love seeing how other people’s color choices change the whole feel.
— Pearl


Leave a comment